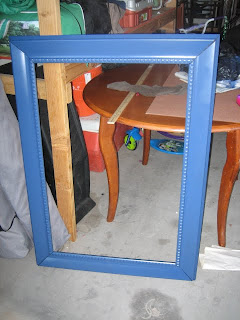
A new chalkboard for my little boy's room!
Want to see how I did it?
These are the paints, primer, and glue I used.
I bought the board at Home Depot. It was about $4 for a 2x4 ft piece.
I started with 2 coats of Kilz latex primer($7).
Then I sanded it smooth.
I followed it with 4 coats of the chalkboard paint($10).
Then I marked the wood and cut it to fit the frame. I should have cut the wood, then painted it in case there was a problem I wouldn't have to start over. Luckily everything turned out ok.
I spray painted the frame blue, then coated it with a clear matte spray paint. I also used L brackets to brace it because it was wobbly. I should have put them on first thing to prevent the wobbliness as I worked with it.
After I cleaned out the old glue and staples I used the construction adhesive to glue the chalk board into the frame. *Something I found was that it was better to put the board into the frame, then glue it. If you glue it, then put the board in the glue will squish out onto the chalk board.
Let it dry and there we go!
Hang it up and draw away.
(Oh, It already had hardwear to hang it with).
Get your hands on a frame and make something awesome for your kids room or kitchen.
This is going to look great in the little guys room!
I can't wait to show you the project I made with the rest of the chalk board.


.JPG)


No comments:
Post a Comment